Monday, December 22, 2014

DIY wrapping paper

Quick wrapping paper idea


Just a quick post today as Christmas comes closer and closer and the wrapping of presents are a must! So I do have ALOT of Christmas wrapping paper (there was this whole unsupervised trip to Costco last year that banned me from going to that establishment alone ever again), but sometimes its nice to be a little different. This idea came to me as something that could work for Christmas or birthdays. 

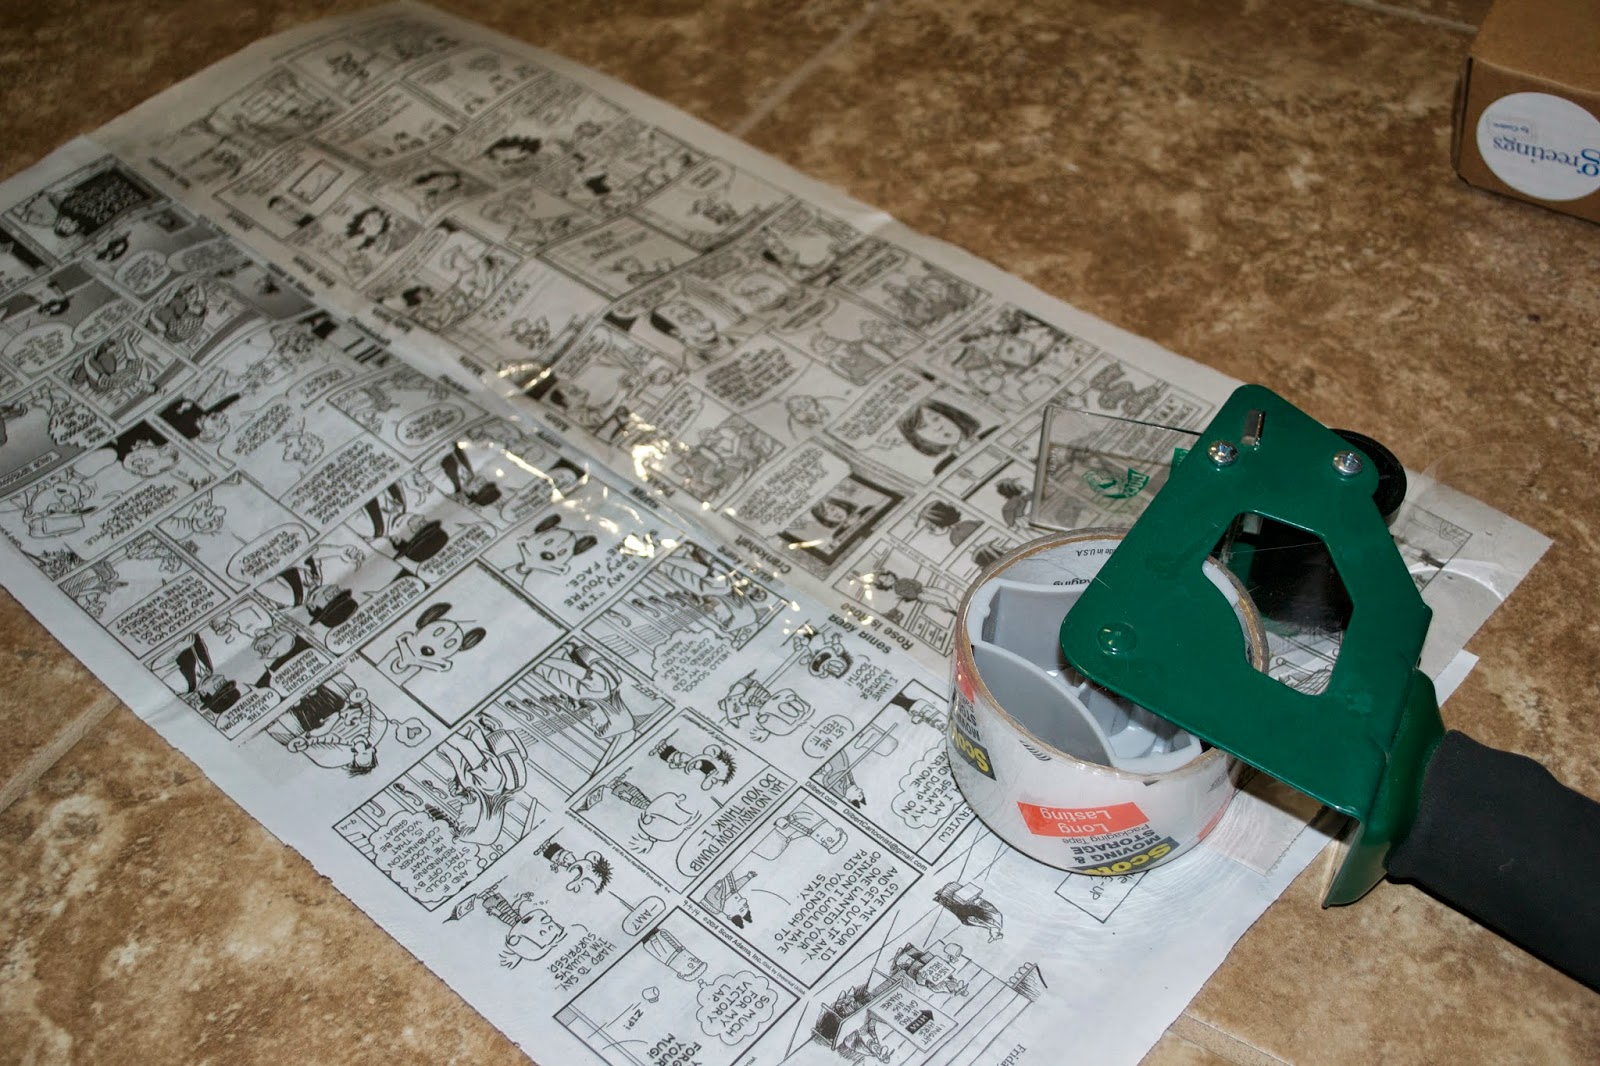
Needed: Comics - black and white or color (we stocked up on both over the last couple months)
Tape
Anything to add a little pizazz 


Step one: take item being wrapped and measure paper, if needed tape to pieces together to make larger.


Step 2: wrap present


Step three: Add embellishment if wanted such as ribbon or name tag. I ended up using some yarn I had lying around.


And the final product: This particular gift was a white elephant gift so I didn't add a name tag but I think that would be a nice added touch. 


Until next time! 
Bre

Sunday, December 21, 2014

DIY dog Crate Mat

DIY DOG CRATE MAT

So this weekend I was going to do a dog Christmas themed post about remaking old ugly Goodwill purchased sweaters into stockings and stuffing them with doggy themed Christmas presents... unfortunately... I went out for a couple hours and the pups had a field day devouring their Christmas presents early... so alas no stocking post for now. 

Instead I am going to do the post I had planned for January:
Over the summer we rescued a new pup:

And like all pups in my life housebreaking involved getting a kennel: We had one of those kennels with the pull out plastic bottoms for easy cleaning. These are great in theory, however I'm a softy and put the kennels in my room and I'm a light sleeper and every time he would roll over I would wake up. So I put a blanket in there with him to soften the noise, but he would get all tangled and upset.. see:  
upset pup!

And I'm sure he would look over to his roommate and see that our other pup Mitzi with her cool crate mat that I made her last year and he got jealous. See.. she's gloating...


So to make the mat you will need:
Thread
Sewing machine (or bionic hands.. either works)
Two layers of fleece the dimensions of the crate base
Quilt batting the dimensions of the crate base (I used the half inch thick kind because we live in Arizona and any thicker would be too hot to lay on)


Ok so step one was to cut out the fabric the size of the crate base:


So with the wrong sides facing out and the batting on top I sewed along the edges leaving about 6-8 inches on one side so I could flip it right side out. 


Then I closed off the hole by sewing the edges.


And from prior experience with Mitzi's mat I tacked each of the corners down so the material wouldn't shift after being washed. 


When its finished it looks something like this (cat not included)


Here it is in the crate: (notice the disgust in Mitzi's face that's she's not "special" anymore)


Now the following pics shows just how spoiled pets at my house are.. yes those are ergonomically correct memory foam pillows and yes he's tucked in


Until next time
Bre

Friday, December 19, 2014

DIY cookie Christmas

DIY COOKIE MIX CHRISTMAS GIFT


On a budget? Want to still have a meaningful gift for a friend of family member? Like to bake or have a favorite cookie? Well if you answered yes to these questions then I've got a great project for you! 

What you will need to do: Firstly, find your favorite cookie recipe and gather all the dry ingredients! You will also need a clear jar of some kind to display the ingredient layers in. 


 Next measure out the dry ingredients and put them in the jars. I have a bunch of relatives and friends so I made a kind of assembly line for this process. I also found that using a funnel helped a lot contain the mess (although my husband says no matter what project I do in the kitchen it looks like a tornado went through).


Once the jars are filled the next step is to add the left over instructions and Christmas touch. For this part I grabbed some tissue paper and bags from my stash. I also typed up the full recipe for the recipient's future along with the abridged version of the recipe for the jars. 


I cut the recipes to size and punched a hole on the top. 


I also upcycled the bow and elastic from the original jar to attach the recipe card. 


Finally I took the full recipe and a little festive ribbon, rolled the recipe and tied it with the ribbon. 


 After placing them in bags with the tissue paper and a gift tag I think this is a fun inexpensive gift for any family or friend.


As always please feel free to follow me on instagram for more up to date posts on mine and the hubby's lives! 

Until next time
-Bre

Thursday, December 18, 2014

It's beginning to look a lot like Christmas!

Hello family and friends! It's a week before Christmas and we have been working like crazy to decorate our house to match the season. However, we have only lived here for two years and on a budget, so we've taken a simplistic budget approach to christmas this year. So here's the deal/goal I'm going to try and make a post every day up to Christmas with our budget Christmas works. Things like awesome but budget friendly gift ideas, decoration idea, projects etc. But for starters here's a look at some of the Christmasy area of our big house!

Since the hubby made the enormous table downstairs, my large Christmas tree spot was taken so we moved the "people" (you'll see below) tree upstairs to the loft.

We don't have a mantle of any kind or a fire place so I got this cute stocking holder


This beautiful card holder was made by the hubby and will be featured in a post later this week!


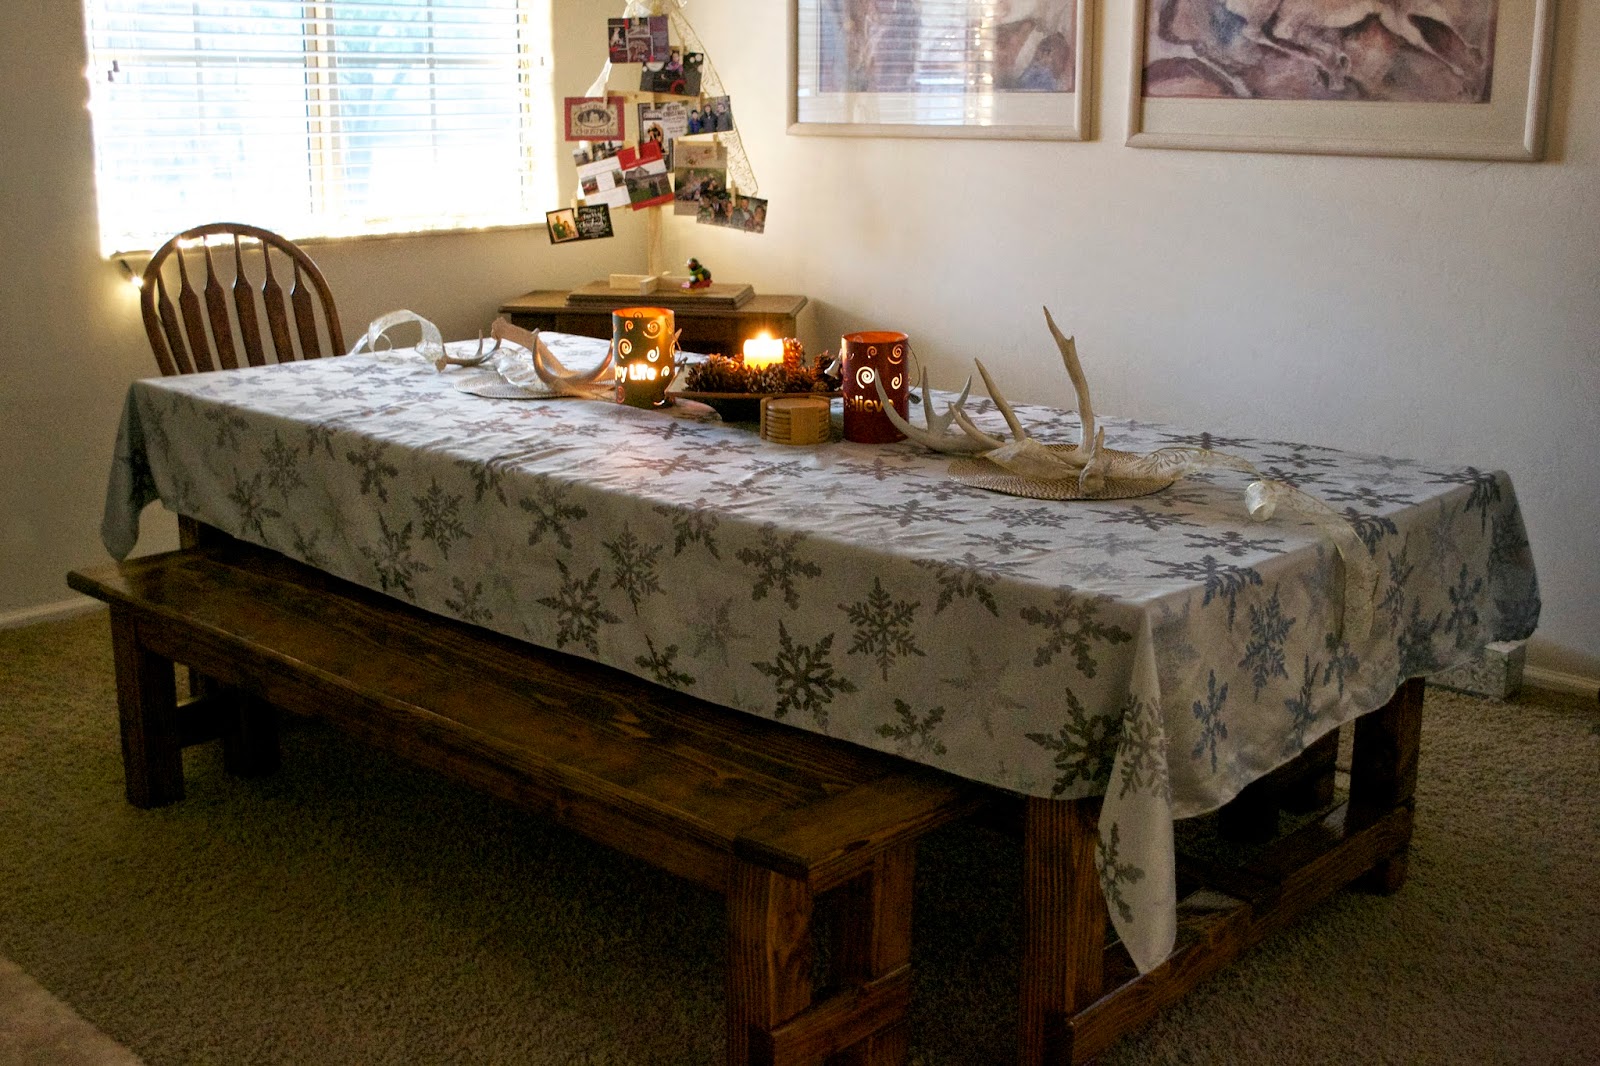
This awesome table was made by my hubby and cost close to nothing to decorate!


The tablecloth was a gift from a neighbor. the candles and cancel holders were wedding gifts. The centerpiece was $3 from goodwill. The antlers were graciously provided by the desert. And the ribbon cost $1 from Michael's last year. 


Each year I get a "pet tree" I make sure to load it up with unbreakable items such as plastic ornaments and ribbon and burlap. I also made the tree skirt last year and since its pretty big it does a great job of covering up the water bowl for the tree so the pets can't add to their water bowl collection. I also made the tree topper bow last year for about $3. 


Did I mention it's a PET tree?? complete with a coal treats, squeeky elf and yule log from barkbox.com 


Santa even is in the bathroom!


This is our "table for two" Christmas table 


Our cats even joined in the festive decor :)


Last but not least for those of you who follow my instagram you will recognize this advent calendar. (I was bad this year and didn't refill it.) It came with a daily family advent calendar book that me and the hubby like to read. It is however pretty funny as we don't have kids and when the book suggests including the children in the nightly activity my four legged children rarely cooperate. 


So as for tomorrow's post I all be starting some of the money saving christmas ideas! Until tomorrow! 
-Bre